Hi Guys, In this article, you will discover how to leverage SAAS in a ReactJS Application. We will use the node-sass module to work with SASS in React js environment.
Table of Contents
Introduction
How to use SAAS in a React Application
Conclusion
Introduction to Saas
The sophisticated module Node-sass provides binding for Node.js to LibSass, the current version of the well-known Sass stylesheet preprocessor. Through a connect middleware, it enables your react to generate .SCSS files to CSS at an astoundingly quick rate natively.
SASS provides practical and simple ways to style contemporary web applications. SASS opens the door to simplicity and enables us to create CSS code that is easier to maintain and more modular.
It may be a little troubling at first if you are new to React and having trouble adding SASS to React, but if you follow the instructions, you should have no trouble configuring SASS in React.
How to use SAAS in a React Application
For this example, I will be showing you how to add SAAS to a new React application as well as adding SAAS to an already existing React application.
Adding SAAS/SCSS using Node SASS Module to a new React application
To add SAAS to a new React application follow the steps as illustrated below;
Create React App
Install Node SASS Package
Write SASS in CSS File
Create Component File
Update App Js File
View App in Browser
Create React App
You must install the develop react app tool on your computer before you can begin using React.
npm install create-react-app --globalRun the following command from the terminal to install a new React app:
npx create-react-app react-demo
Next, change into the project folder.
cd react-demo
Install Node SASS Package
To integrate SASS in React, you require to add the node-sass module in React application using the node package manager.
npm install node-sass
Write SASS in CSS File
Search the src folder for the App.css and index.css files, then change both of their extensions from.css to .scss
The styling code provided must be added to the App.scss file:
body{
  background-color: yellow;

  .scssStyling{
    padding: 20px;
    h1{
      background: white;
      text-align: center;
      padding: 10px;
      font-size: 18px;
    }
    p{
      text-align: center;
      font-style: italic;
    }
}
}
Create Component File
In this step, we'll create the components directory in the source folder and a file called Example.js inside of it.
We need to add the scssStyling class to the div so that the React component can have SASS styling.
import React from 'react'

const Example = () => {
  return (
    <div className='scssStyling'>
        <h1>
            Congratulations You are now using SASS in React😁😁
        </h1>
        <p>
            Now you can do more!!!!
        </p>

    </div>
  )
}

export default Example
Update the App.Js File
In order to see the changes of SASS in React component we have to register the React component inside the main React component.
Place the provided code into the open App.js file.
import React from 'react';
import './App.scss';
import Example from './Example';

function App() {
  return (
    <div className="App">
      <Example />
    </div>
  );
}

export default App;
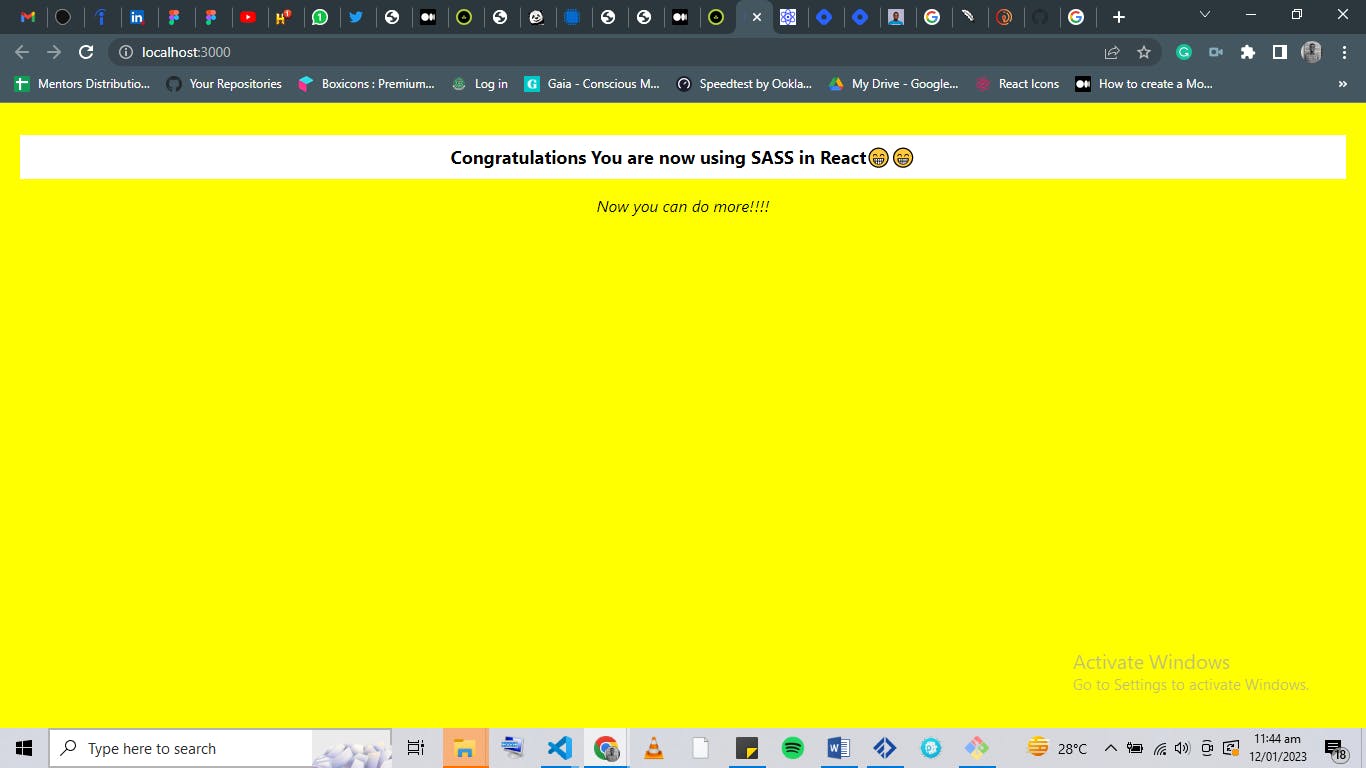
View App in Browser
Open the console in the final step, enter the command, and then click OK:
npm start
After running the command, react server is running, open the given url on the browser to test the app:
http://localhost:3000
and Voilaaa!!!!!.

Adding SAAS/SCSS to an existing react application.
To achieve this you don't have to start by creating a new React application, all you need to do is to :
Install Node SASS Package
npm install node-sassCreate a .scss file for the component you will like to add the styling to
Export and render the particular component so that you can see the changes, and that will be all.
Conclusion
This short lesson showed us how to configure Sass in a ReactJS application.
We utilized the Node Sass module to implement SCSS or SASS in React.
I hope this will aid you in your endeavors as a developer and broaden your understanding of React programming.
